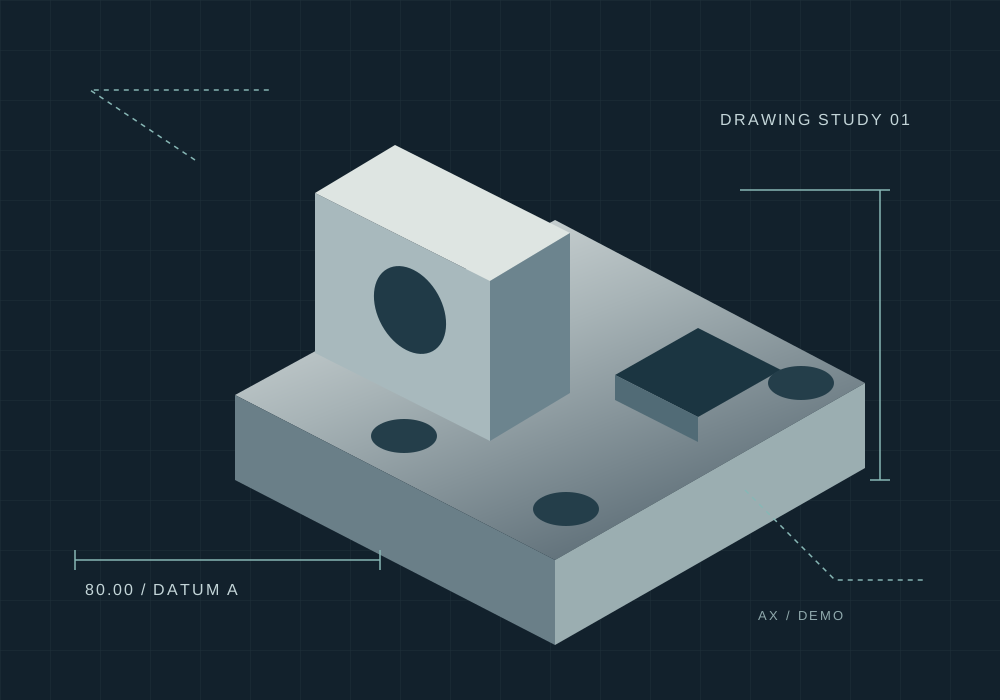
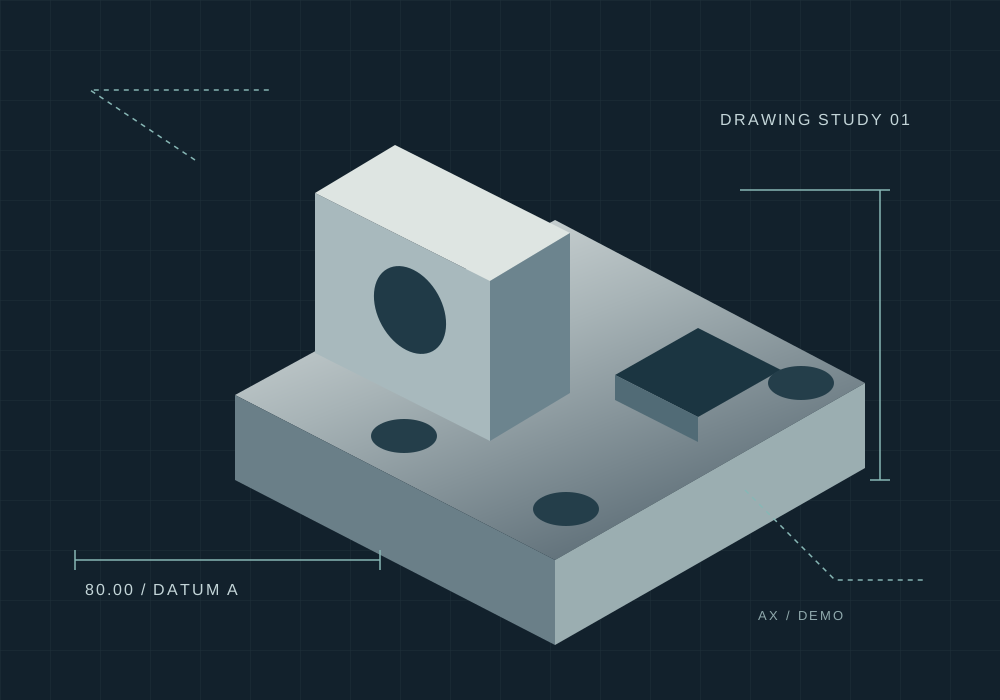
3-axis geometry AX-M01
Milled mounting bracket
A pocketed bracket with two functional datum faces. Explore stock allowance, edge breaks and finish requirements.
- Example alloy
- 6061-T6
- Envelope
- 80 × 60 × 25 mm
FROM DRAWING TO DEFINED PART
Material. Datum. Finish. A clear engineering brief brings your component into focus before a production decision.
Drawing-ledCritical features first
Process-awareMilling / turning
Scope-definedInspection by agreement
Prepare your drawing →Industrial manufacturing
3-axis geometry AX-M01
A pocketed bracket with two functional datum faces. Explore stock allowance, edge breaks and finish requirements.
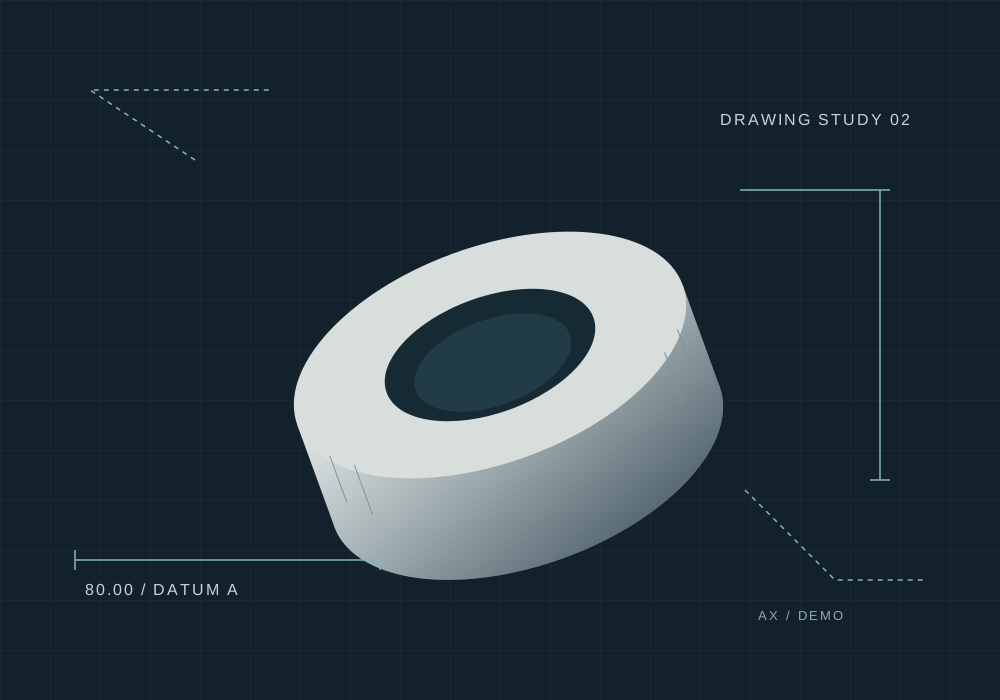
Concentric features AX-T02
A tubular component that puts inner and outer diameters at the center of the purchasing conversation.
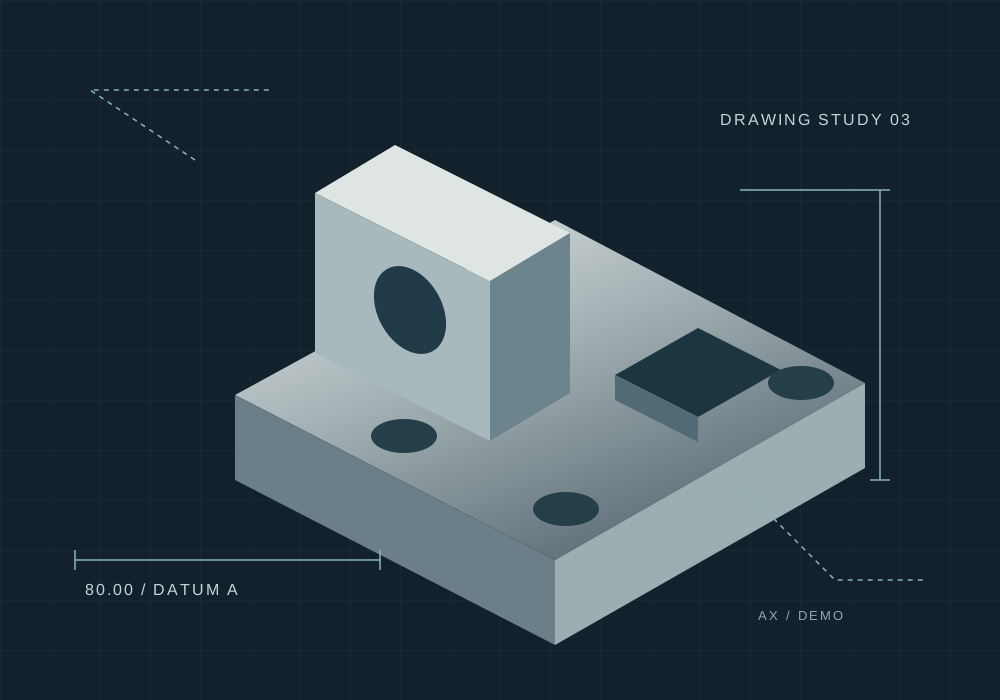
Multi-face machining AX-M03
An enclosure geometry with mating faces and threaded features for an engineering review.
Separate critical surfaces from general features. Milling and turning follow different datum strategies.
Confirm alloy, temper and finish compatibility before fixing a route.
Agree the measurement method and document scope for the critical dimensions.
A CLEARER NEXT STEP